Plan the project
Choose the material you need, or describe the job so the material discussion starts in the right place.
Get the material to the place where the work is happening. The product, rough amount, address, access notes, and placement area are the details that make the order useful.
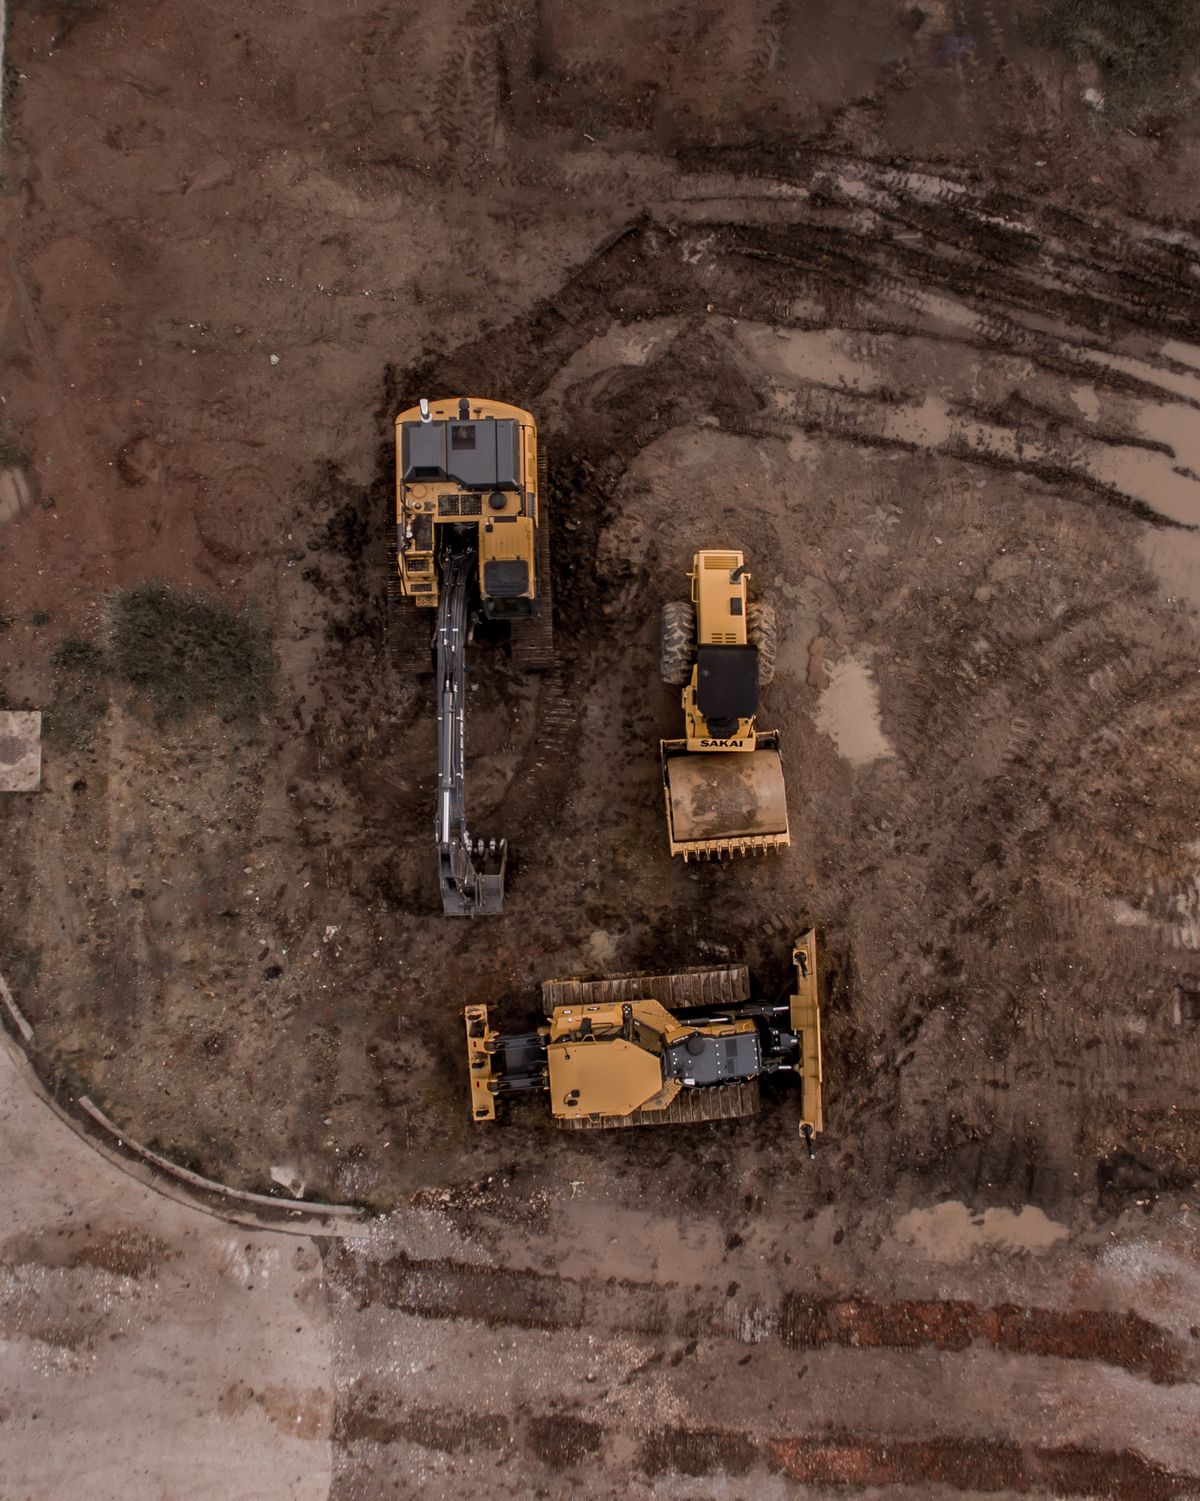
The material has to fit the work. The truck route has to fit the property. The placement area needs to make sense for the load.

Sand, stone, gravel, dirt, soil, mulch, and recycled material each serve different parts of a project.
Sand is usually part of a finish, bedding, backfill, or mix decision. The job plan matters more than the product name alone. Sand products cover mix work and leveling. They also show up in drainage or finish layers.
Limestone decisions usually come down to the layer under the finished surface and the load the area will carry. Limestone works in a base layer. It may also be used on driveways, drainage runs, or other load-bearing areas.
Gravel can serve an access, drainage, or finish purpose. The look of the stone is only one part of the decision. Gravel works for driveway and drainage jobs. It can also serve an access area or a visible stone surface.
Dirt and fill choices start with the grade you need to create, not with a generic material label. Dirt handles fill work and grade changes. It also shapes the ground below a finished surface.
Soil work belongs near the finish stage, after the shape and drainage plan are already settled. Soil supports lawn work and planting beds. It belongs in the top layer where roots take hold.
Mulch is a finish material. Bed size, depth, and the look you want are the useful details for a quote. Mulch finishes beds. It also helps the soil surface hold moisture.
Recycled material is useful when the project plan identifies the layer and intended use first. Recycled material can suit selected base work. It can also fit surface projects when the job calls for it.
Caddo Sand & Gravel serves Caddo Parish. The property entrance, route, and placement area still matter for every order.
View service areasStart with the work you are doing. The material, rough amount, address, access notes, and drop spot give the order a real place to start.
Choose the material you need, or describe the job so the material discussion starts in the right place.
Length, width, and planned depth help estimate the amount for the layer you are building.
Have the delivery address, route, and planned drop area ready when you call.
A clear drop area gives the load somewhere useful to go. Move vehicles and equipment, check gates and turns, and make sure the intended spot matches the part of the project you are ready to work on.
Soft ground, overhead lines, parked cars, and tight entrances can change the route discussion. Bring those details up before the delivery is scheduled.
Name the product if you know it. If you do not, describe the project layer and the result you need.
Measurements, planned depth, and separate work areas make a rough quantity easier to discuss.
The address, entry route, and gate or clearance notes help shape the delivery plan.
Point out where the material needs to go so the order stays tied to the actual job.
Have the material, rough amount, delivery address, access notes, and drop spot ready. Measurements and planned depth also help when the amount still needs to be discussed.
Orders can be discussed for residential and commercial properties. The route, property access, ground conditions, and intended placement area need to work for the delivery.
Delivery is scheduled around the route and material availability. Next-day delivery is available for many orders, while some orders need two days.
Start with the job. A driveway, pad, drainage run, grade change, or planting area can narrow the material conversation before the order is scheduled.
Call with the material, rough amount, address, access notes, and placement area. That gives the delivery conversation a real starting point.